Introduction
Creating game-ready assets is an essential skill for game developers, 3D artists, and animators. understanding the process of making a 3D model from start to finish is key. In this blog, we’ll walk through the process of creating a game-ready asset using Blender for modeling (low to high poly) and Substance Painter for texturing.
Step 1: Modeling the Low Poly Base in Blender
Before you can start adding high poly detail, you need to create a clean, low poly version of your asset. Low poly modeling ensures that your asset is optimized for real-time applications like games.
1.1 Create a Low Poly Mesh
Start by blocking out the shape of your model using simple tools. such as
- Using Extrude (E), Scale (S), and Move (G) to shape your base object. Focus on maintaining the correct proportions for your final asset.
- Try to limit the polygon count—low poly models typically aim for efficiency, so don’t add too much detail in this stage.
For more complex objects like a character or vehicle, break the process down into manageable pieces, working with cubes, cylinders, or spheres for each part and then combining them.
1.2 Refining Shape
Once the base mesh is created:
- Add more loops and try to refine the shape more while trying to limit the polygon count.
- add more details using modifiers.
- apply shade smooth.
- make sure to keep your topology clean with mostly quads.
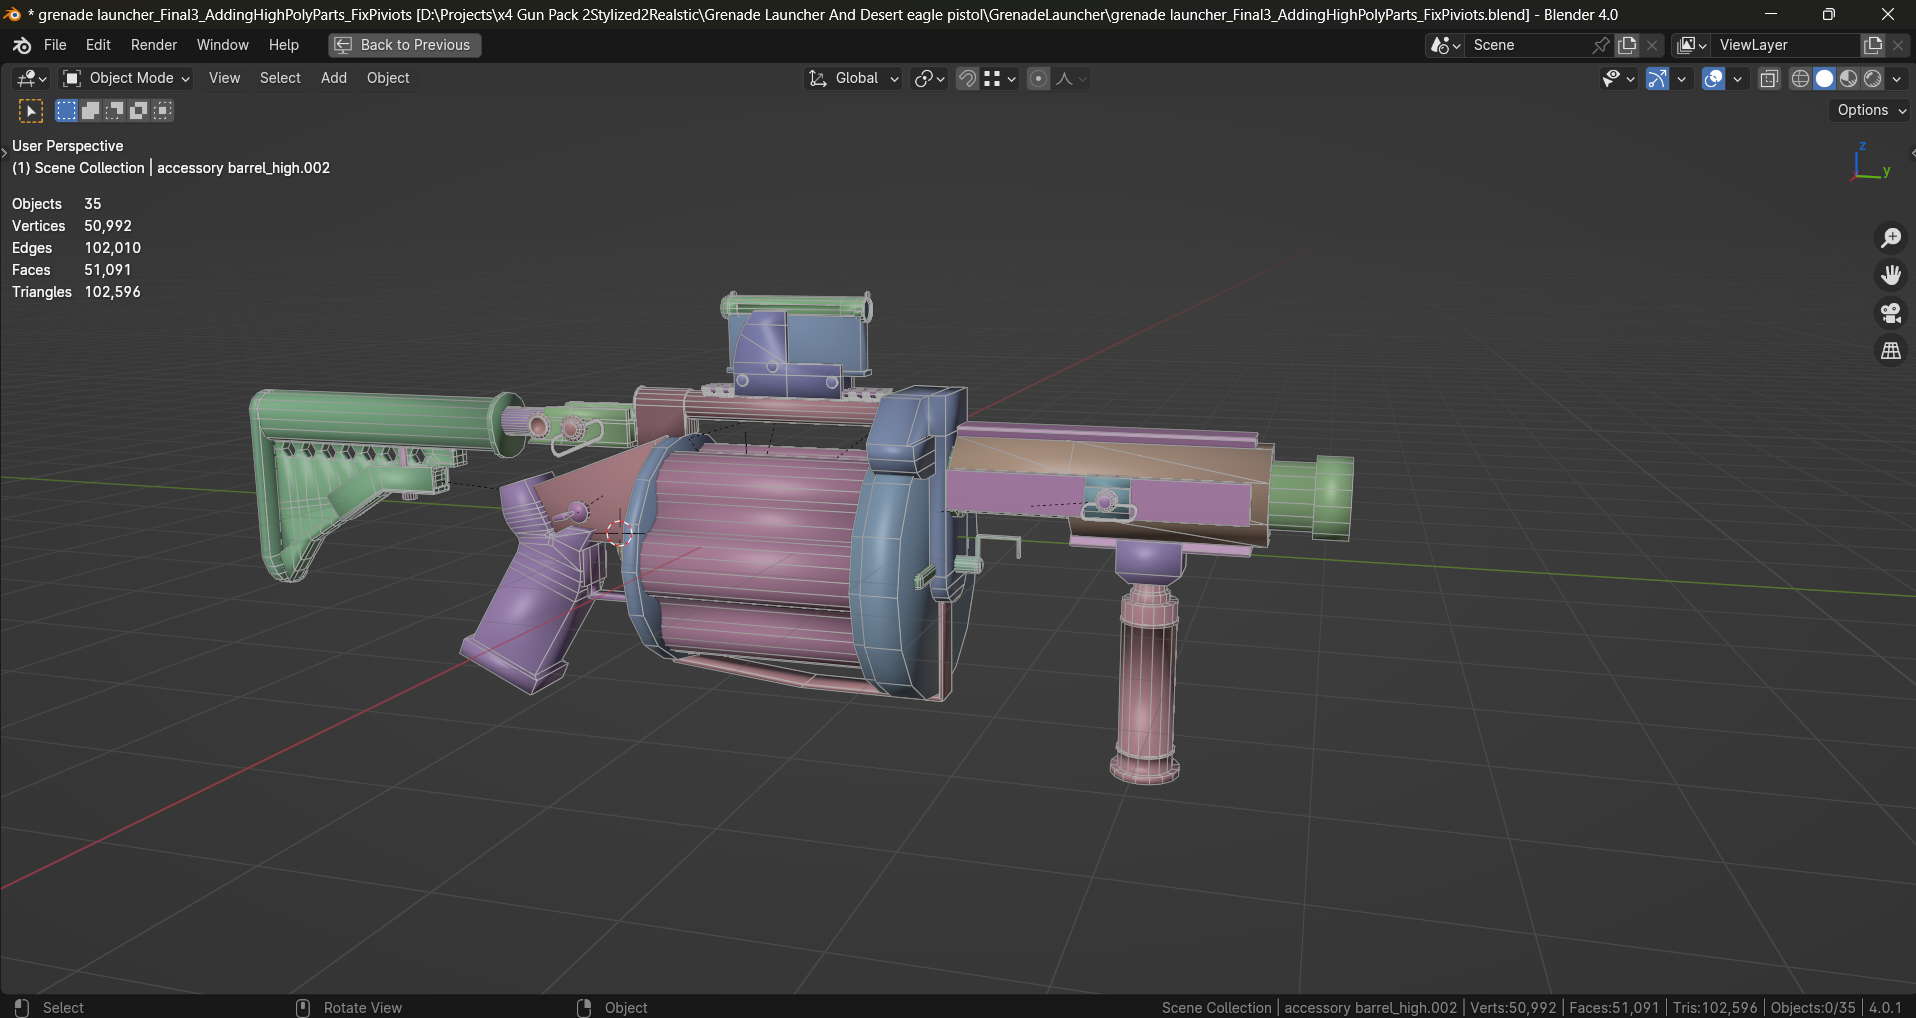
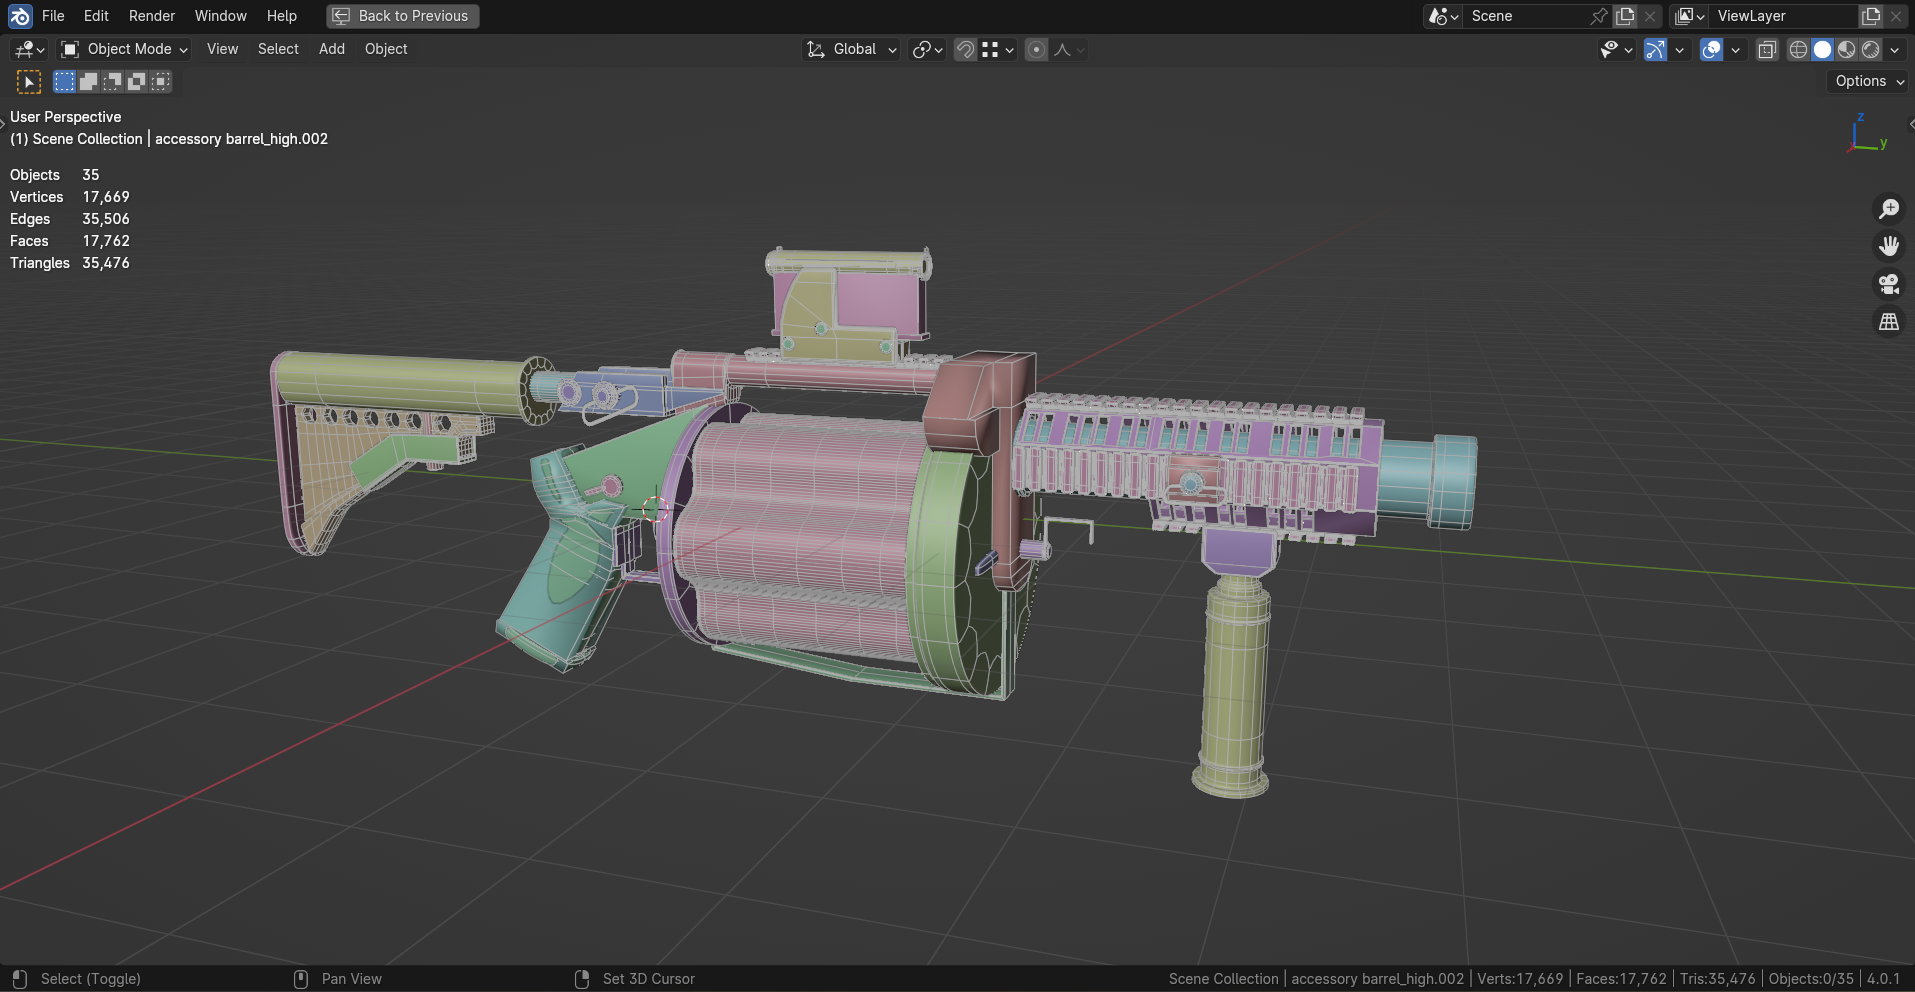
Step 2: Creating High Poly Model
Now, we need to add high poly detail to our low poly model . This step involves refining your low poly model and adding extra details using polygon modeling techniques.
2.1 Adding High Poly Details with Modifiers
you can add high poly detail by using modifiers . For instance, you can use subdivision surface and beveling to create smooth, detailed shapes.
Using the Subdivision Surface Modifier:
- The Subdivision Surface modifier (Subsurf) is an excellent way to increase the polygon count without losing control of the model’s form.
- Add the modifier and set it to Subdivision Level 2 or higher, depending on the level of detail you need.
- If your model requires sharper edges, you can use Edge Crease (Shift + E) to add more definition without increasing the polygon count too much.
- This modifier will smooth your model, but be careful not to add too many subdivisions, as it can significantly increase the poly count.
Using the Bevel Modifier:
- The Bevel modifier is great for adding soft edges and intricate detail to your model. For example, a crate’s edges could be beveled for a more realistic look.
- Use the Bevel modifier to add rounded edges, which gives the model a more high-end, polished look.
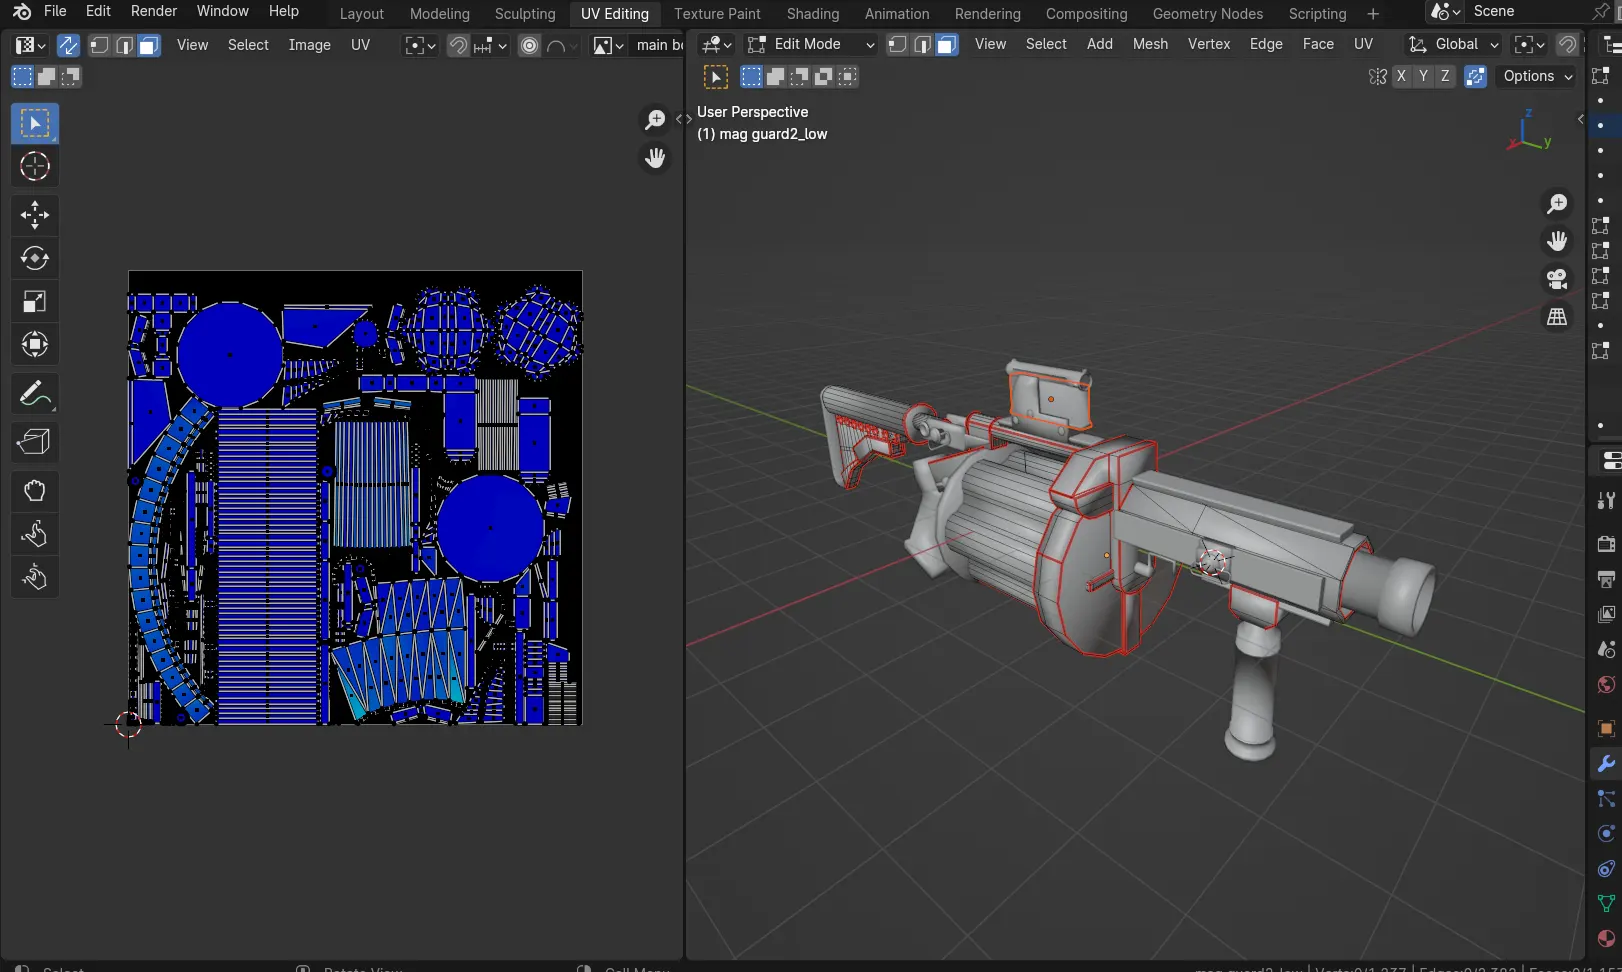
Step 3: UV Unwrapping in Blender
Before you can bake your high poly details to a low poly model, you need to create UVs for your model. UV unwrapping is the process of unfolding your 3D model into a 2D space so textures can be applied correctly.
3.1 Unwrapping the Low Poly Model
- Select the low poly model and enter Edit Mode.
- Use the Unwrap (U) function, selecting the best unwrapping method based on your asset (e.g., Unwrap, Smart UV Project).
- In the UV Editor, arrange your UV islands to maximize space and minimize texture stretching.
3.2 UV Layout for Texturing
- After unwrapping, make sure to properly lay out the UV islands without overlap. Blender’s UV Editor allows you to check for and correct any stretching or overlapping areas.
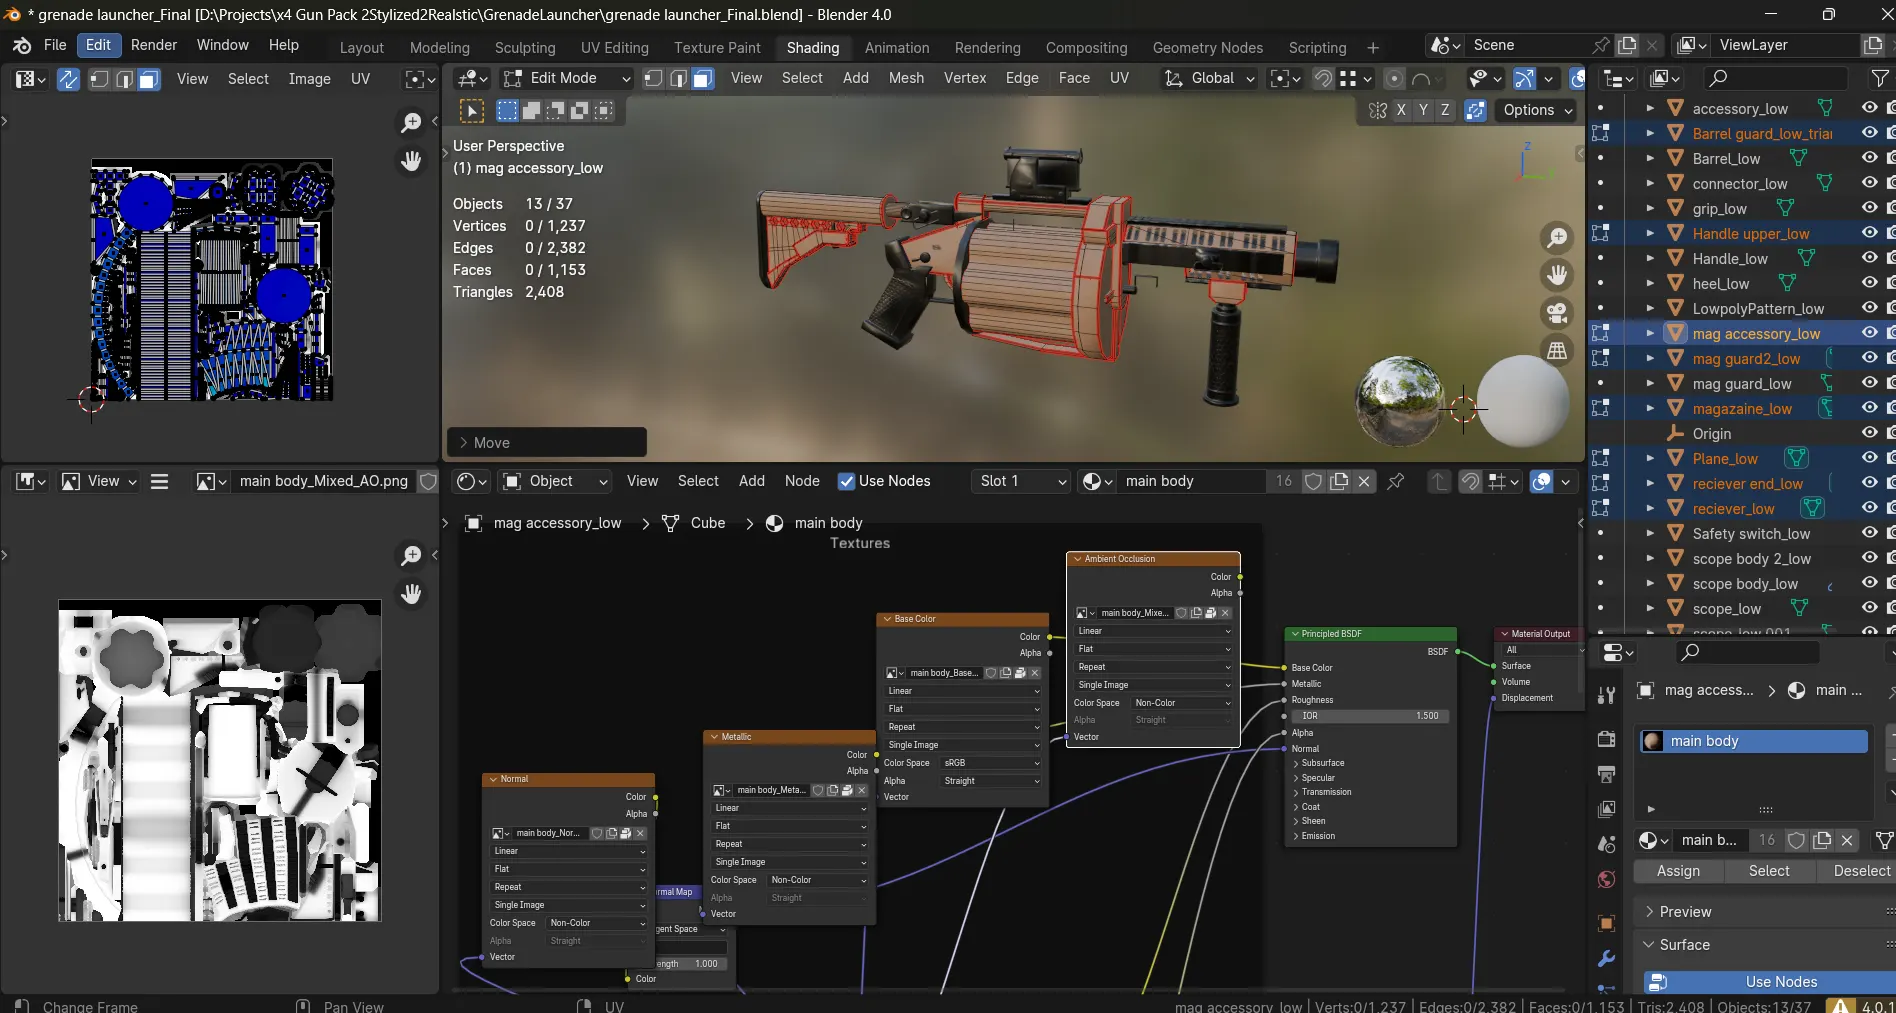
Step 4: Baking and Texturing in Substance Painter
With your low poly model and high poly model ready , you can now move to Substance Painter to create realistic textures for your game asset.
4.1 Import the Low Poly Model
- Export the low poly model from Blender (in FBX or OBJ format) and import it into Substance Painter
4.2 Baking Maps in Substance Painter
- Go to the Texture Set Settings and click Bake Mesh Maps.
- Choose the appropriate maps to bake (e.g., Normal Map, AO, Height Map).
- Make sure that the correct low poly model is selected as the source and the high poly model is used for baking.
4.3 Painting the Textures
Now that your model and baked maps are ready, you can start painting the textures.
- Base Color: Use layers to paint the base color of your asset.
- Roughness and Metalness: Use the Roughness and Metalness channels to define the surface properties of your object (for example, making the edges of a metal crate look worn or rusty).
- Detailing: Add details such as dirt, scratches, or weathering by painting with grunge maps or using the procedural brushes in Substance Painter.
4.4 Exporting the Textures
Once you’ve finished texturing, export the maps for use in your game engine
- Go to File > Export Textures.
- Choose the appropriate export settings, such as Base Color, Normal Map, Roughness, and Metallic.
- Export them in formats like PNG or TGA.
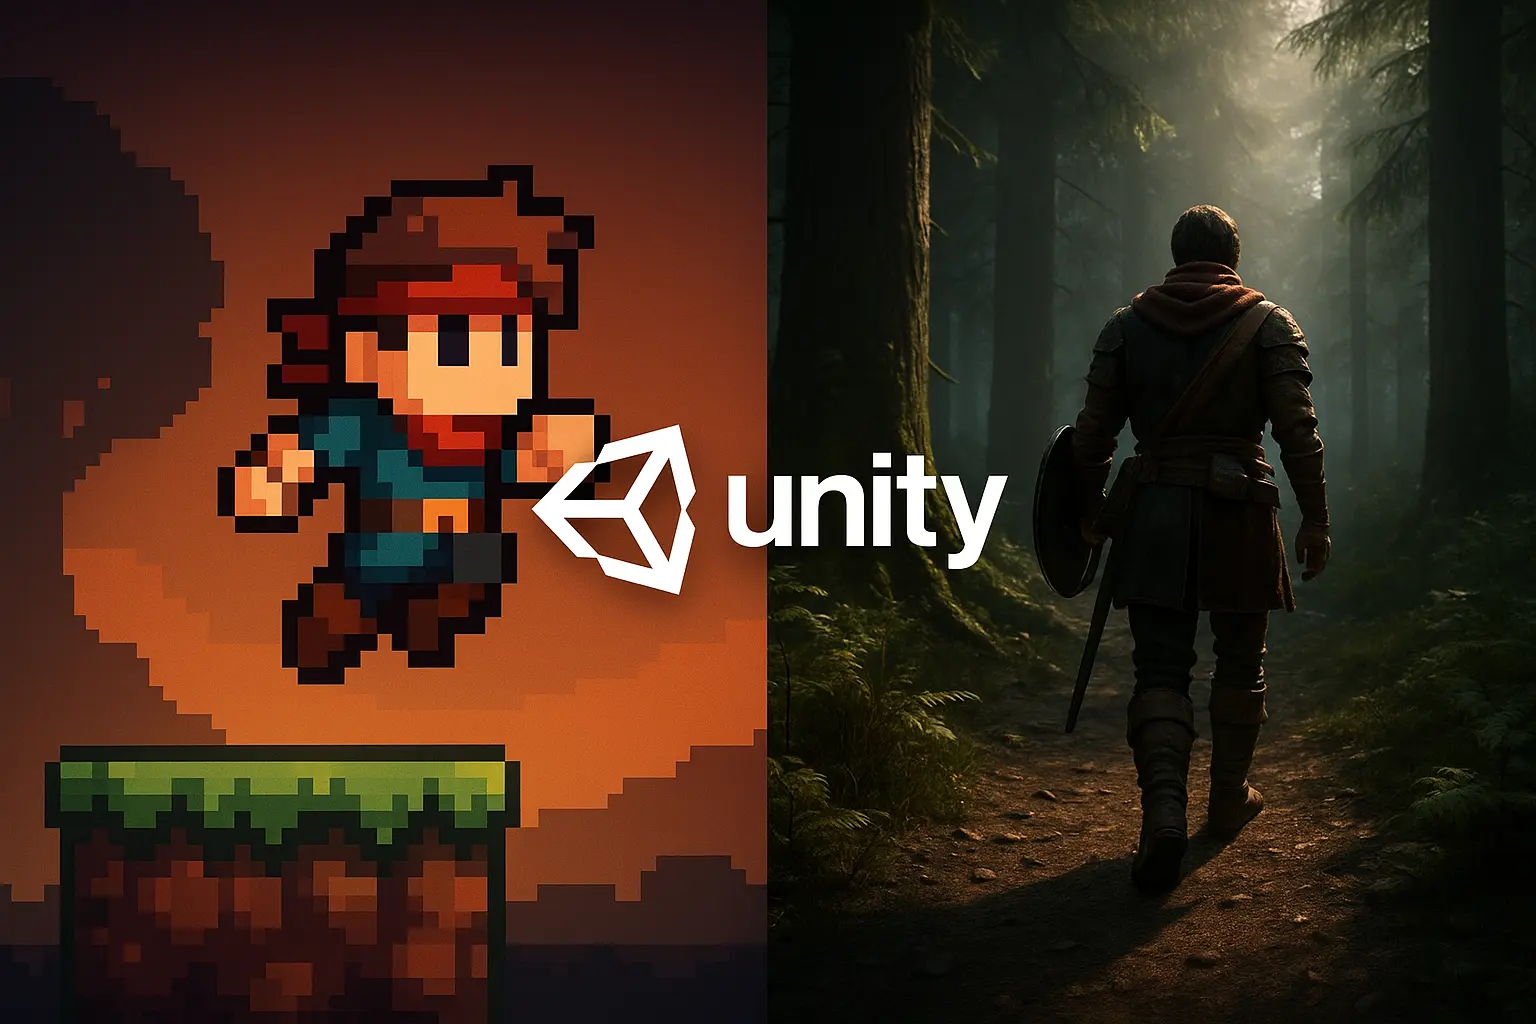
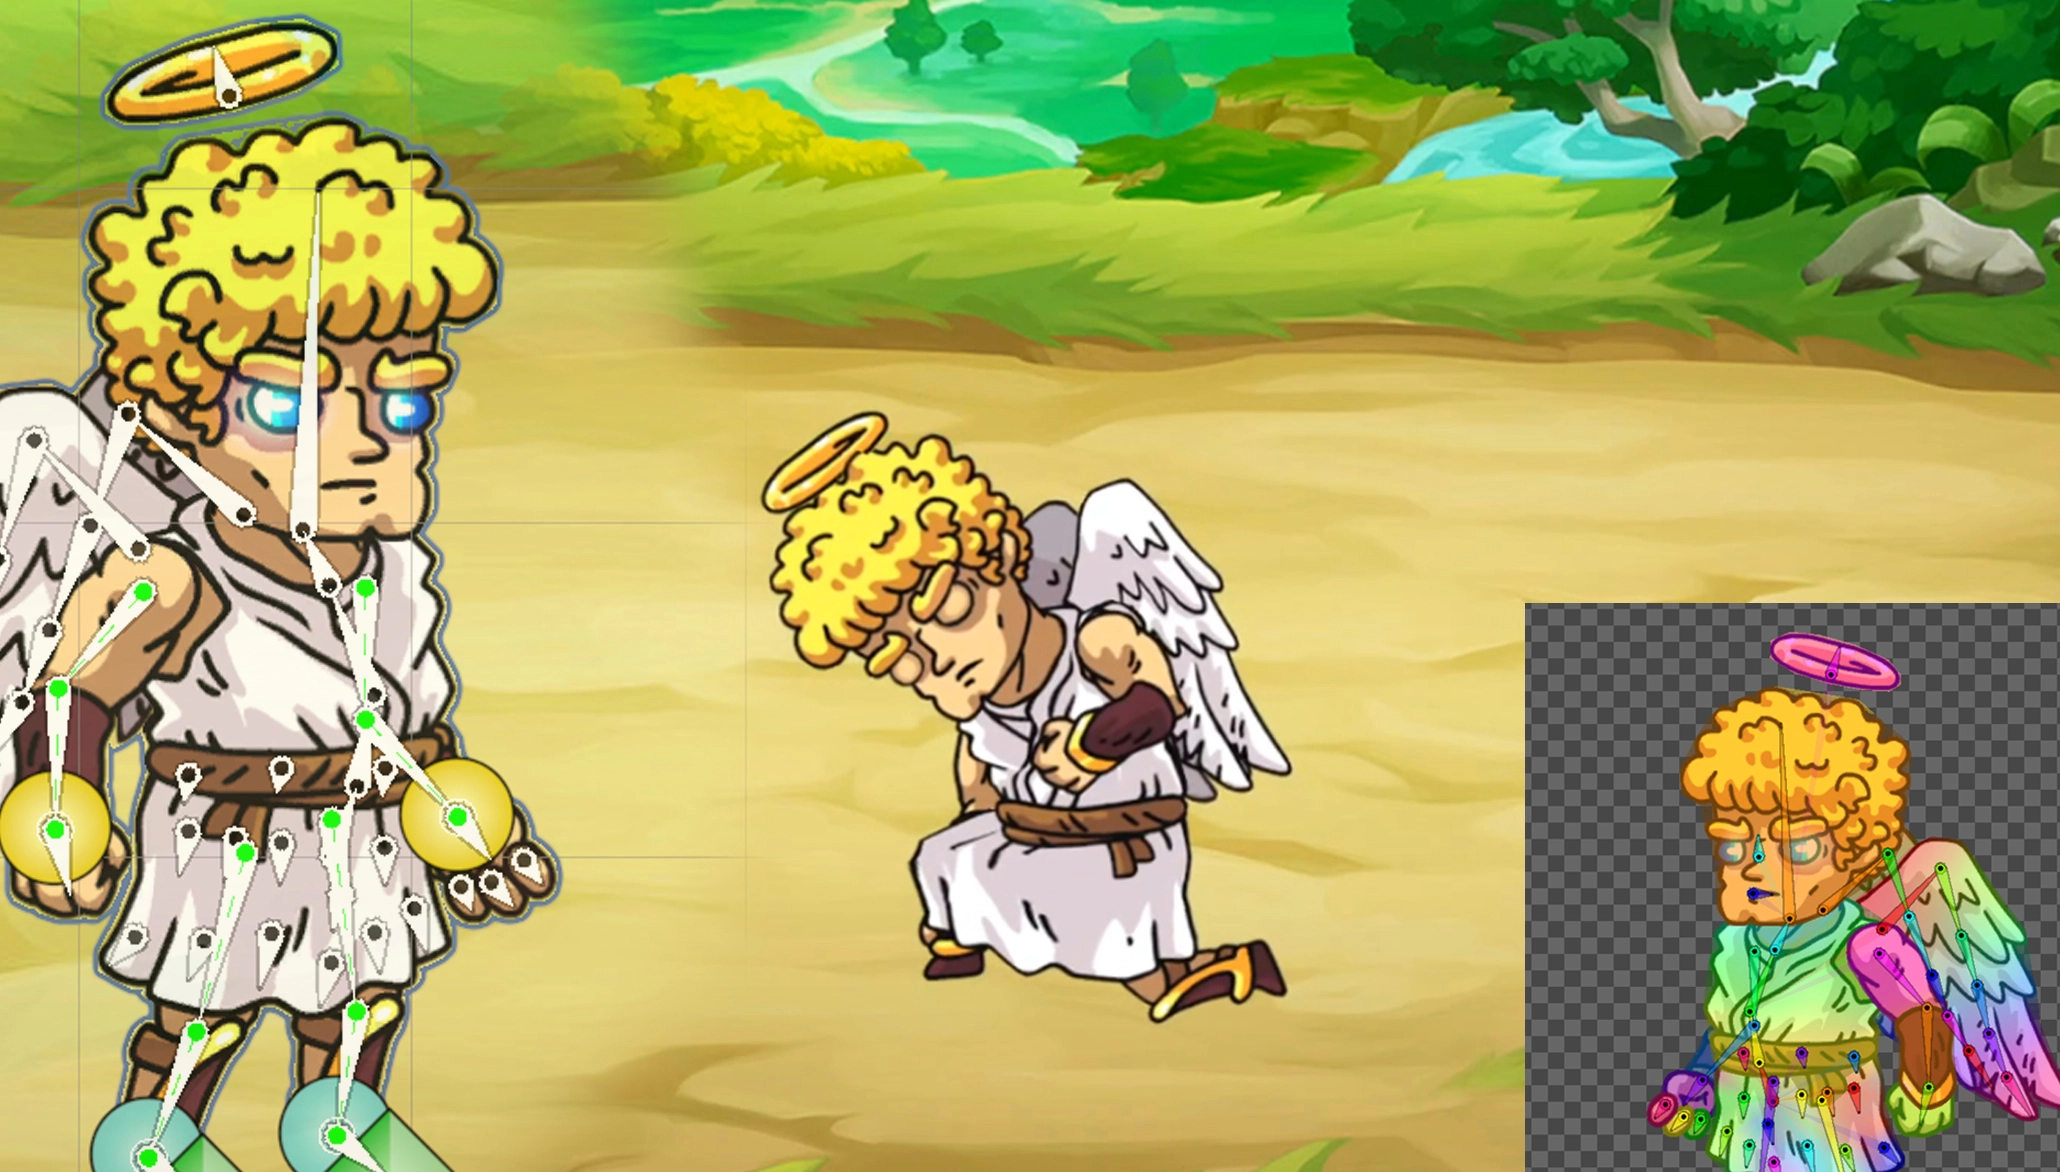
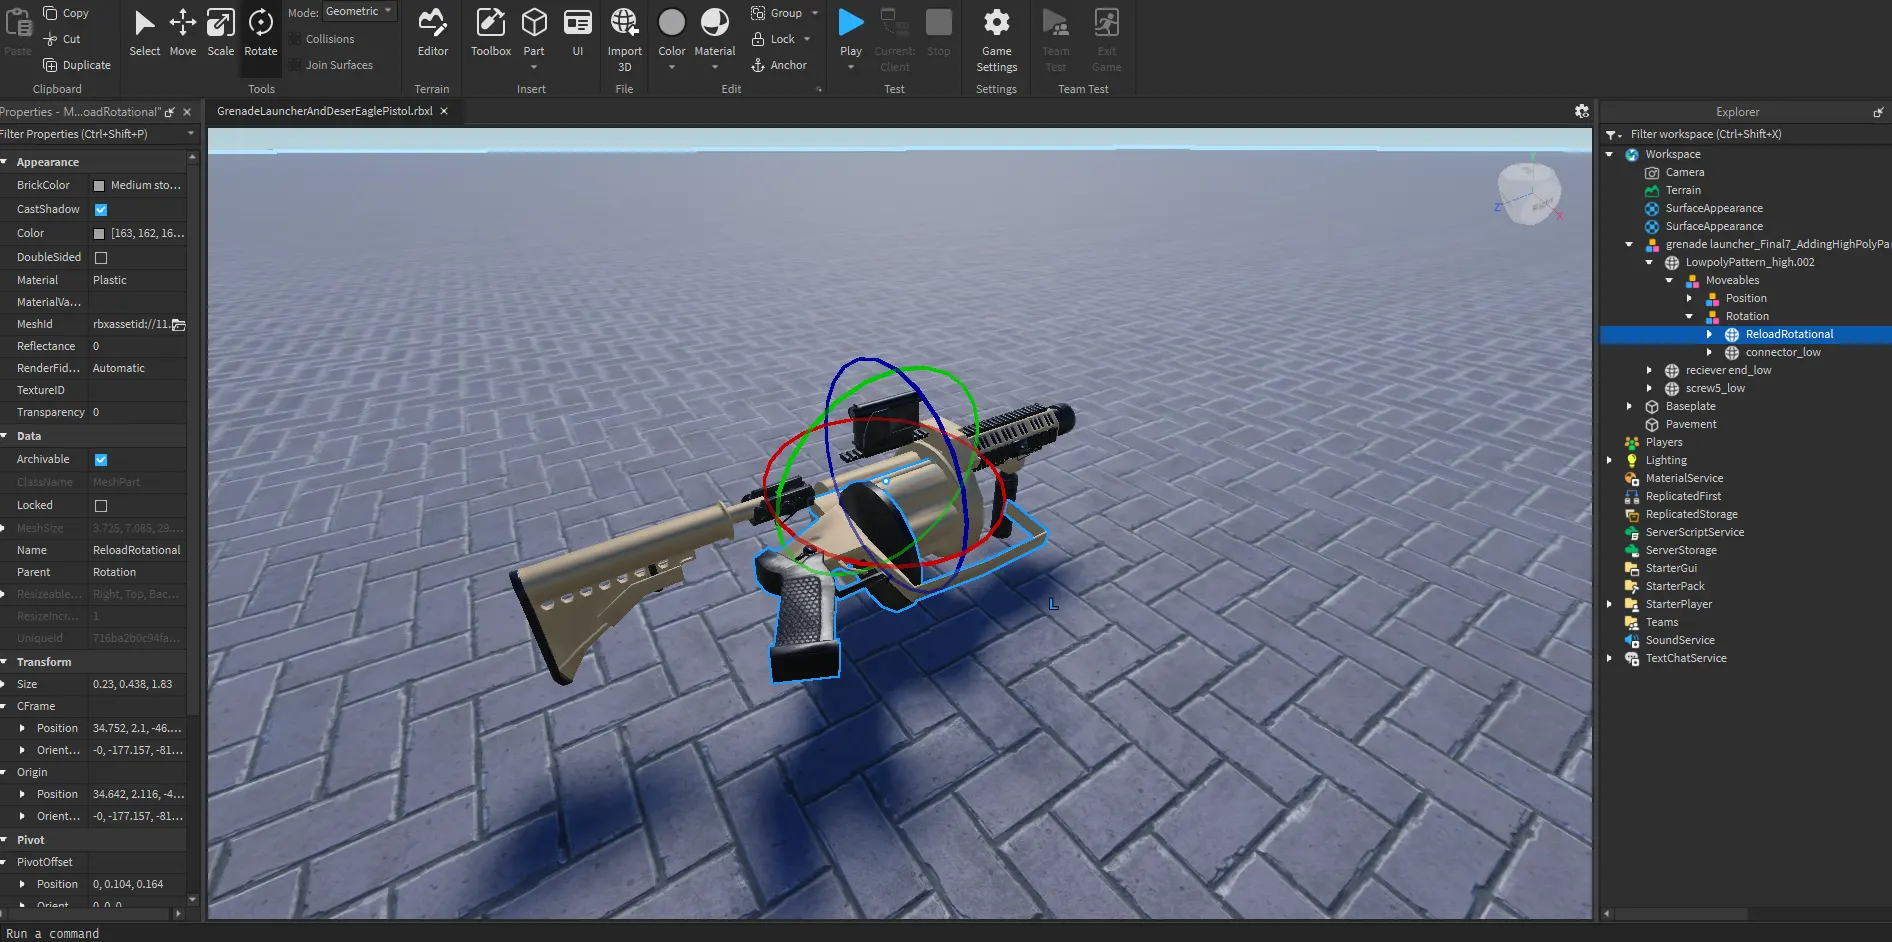
Step 5: Importing into the Game Engine
The final step is importing your asset into the game engine, where the textures and low poly model come to life.
- Import your low poly model into the game engine (using FBX or GLTF).
- Assign the exported textures (normal, roughness, base color, etc.) to the model’s materials in the game engine.
- Adjust the materials within the engine to ensure your model looks just as good in the engine as it did in Substance Painter.