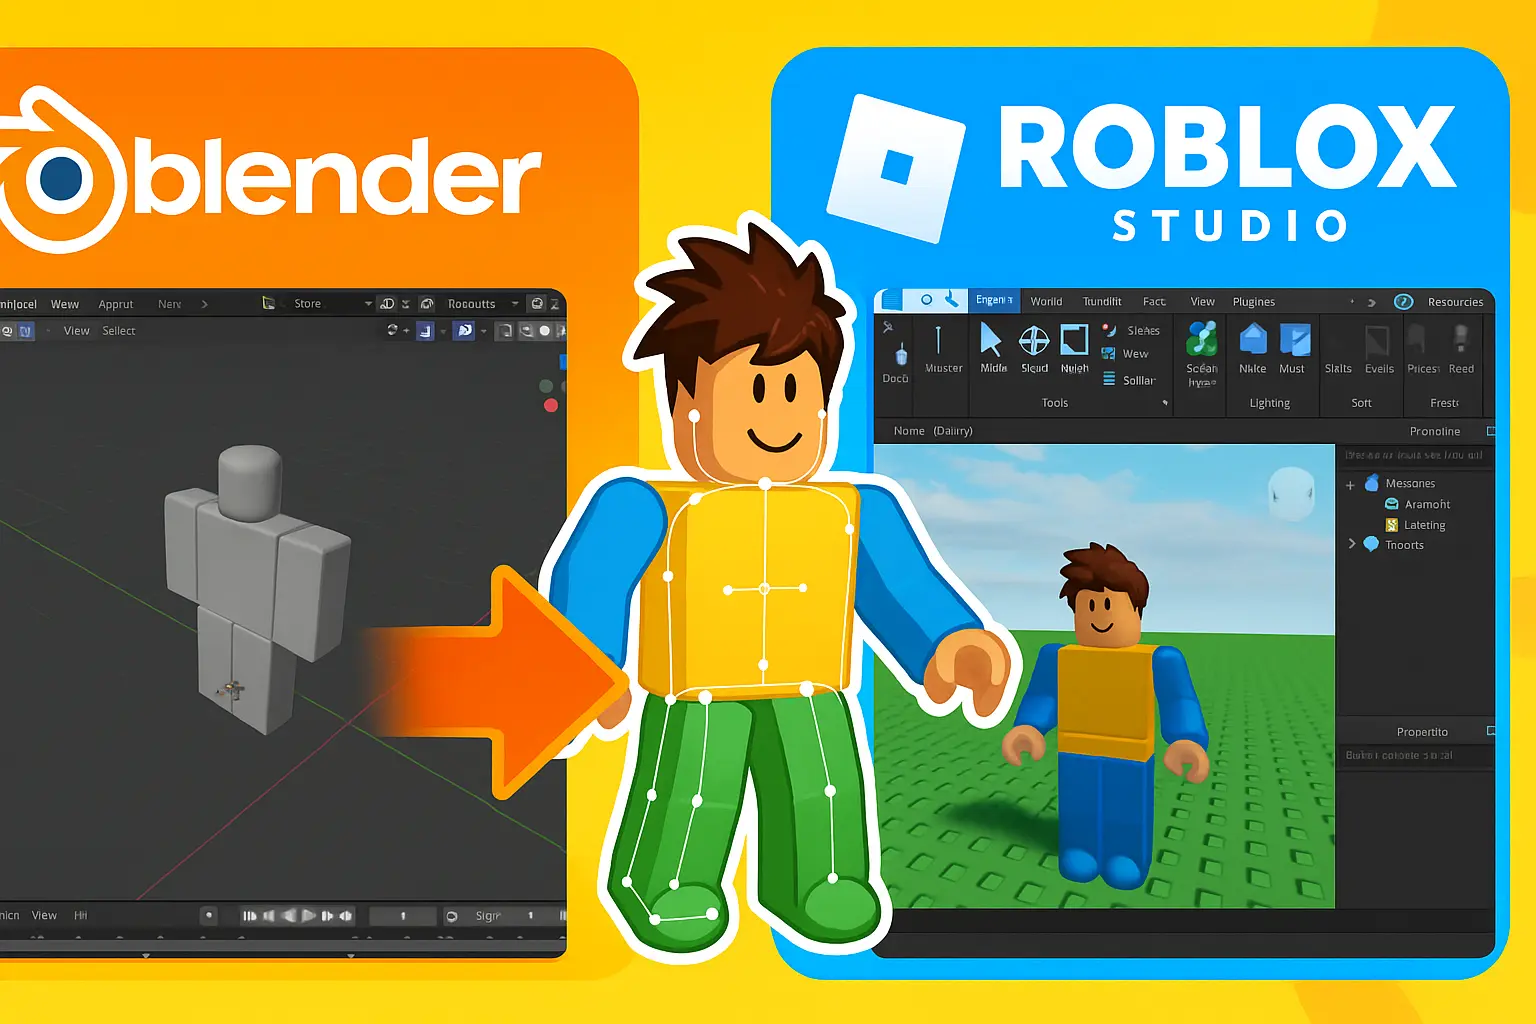
If you’re designing custom characters in Blender and want to bring them into Roblox Studio, you’re not alone. Many developers use Blender’s powerful modeling tools to build unique characters and assets, then import them into Roblox to enhance gameplay. In this guide, you’ll learn exactly how to import a Roblox character model from Blender to Roblox Studio, following best practices for performance, compatibility, and animation.
Why Import a Blender Character to Roblox Studio?
![]()
Roblox Studio offers many built-in tools and models, but creating your own gives you complete creative control. By importing a custom character:
- You can build games with original avatars and NPCs.
- You stand out from others using default Roblox assets.
- You can fully customize rigging, animations, and interactions.
Using tools like Blender — or a Roblox 3D model maker — helps you design complex characters with detailed geometry and textures, making your game feel more professional.
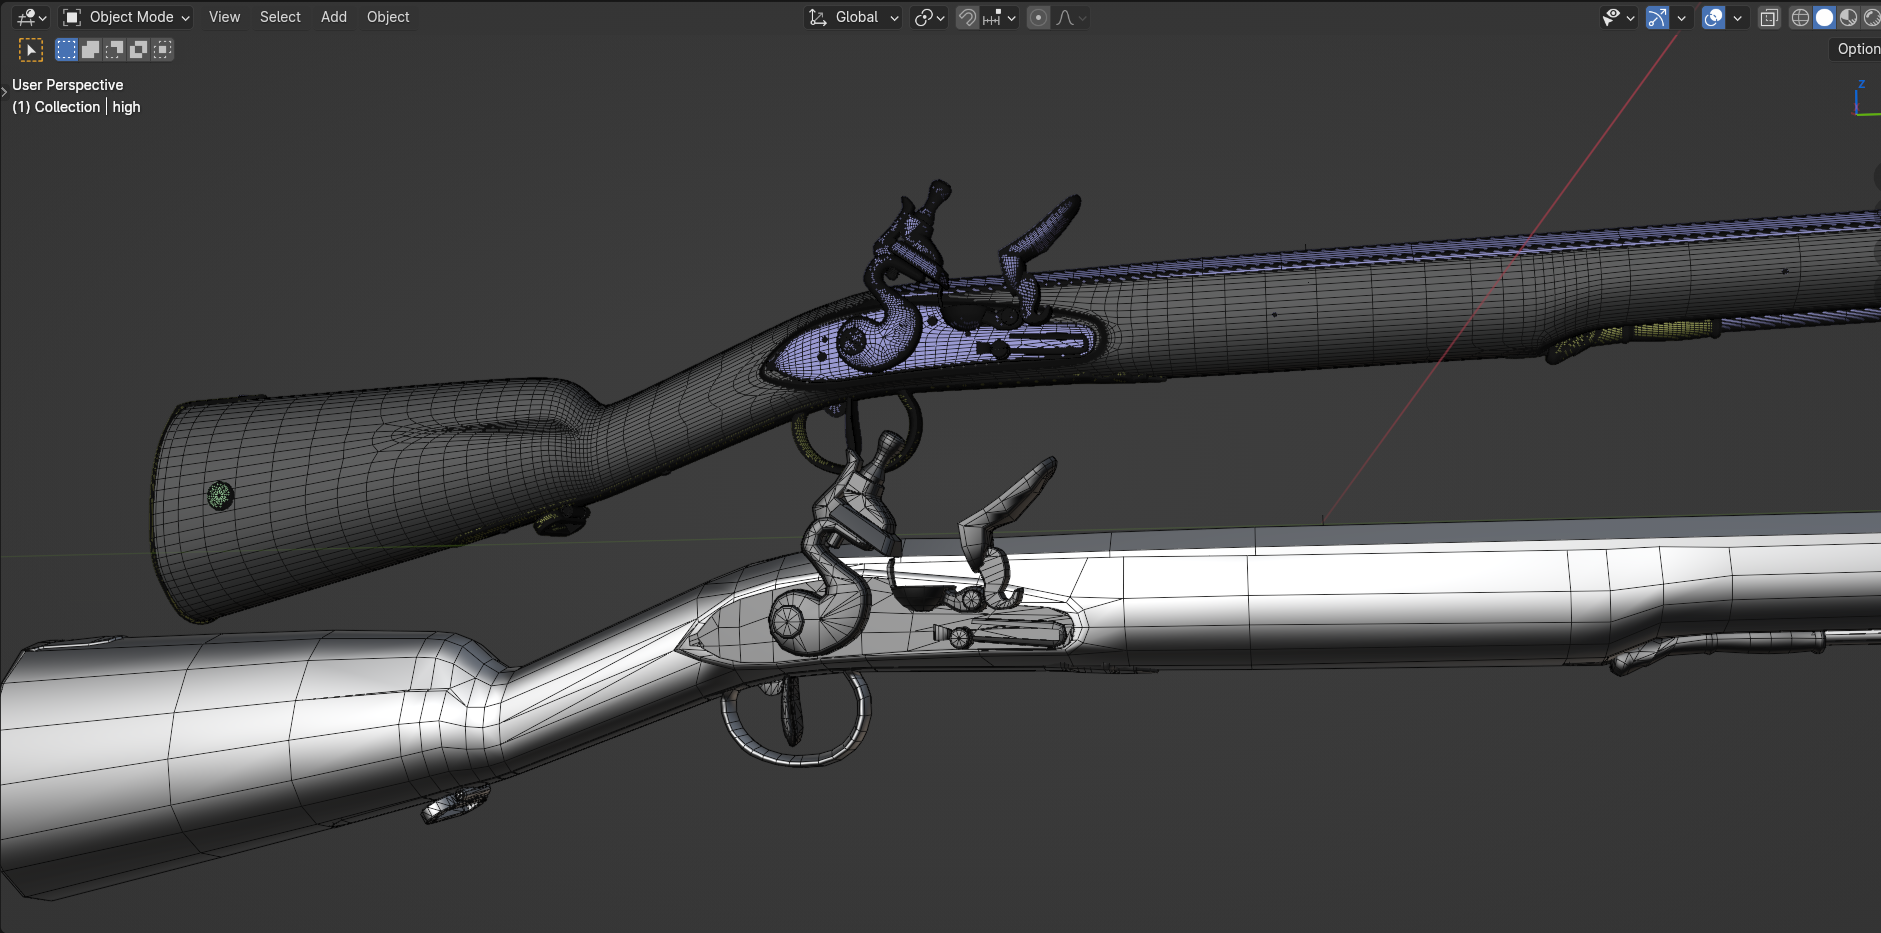
Step 1: Design the Character Model in Blender
To get started, you’ll need a 3D character model ready in Blender.
Tips for Creating a Roblox-Compatible Character:
- Keep the polygon count under 10,000 triangles for performance.
- Use basic shapes and smooth topology to simplify rigging.
- Name body parts clearly (e.g., “Head,” “Torso,” “LeftArm”) if you plan to animate or rig the model in Roblox.
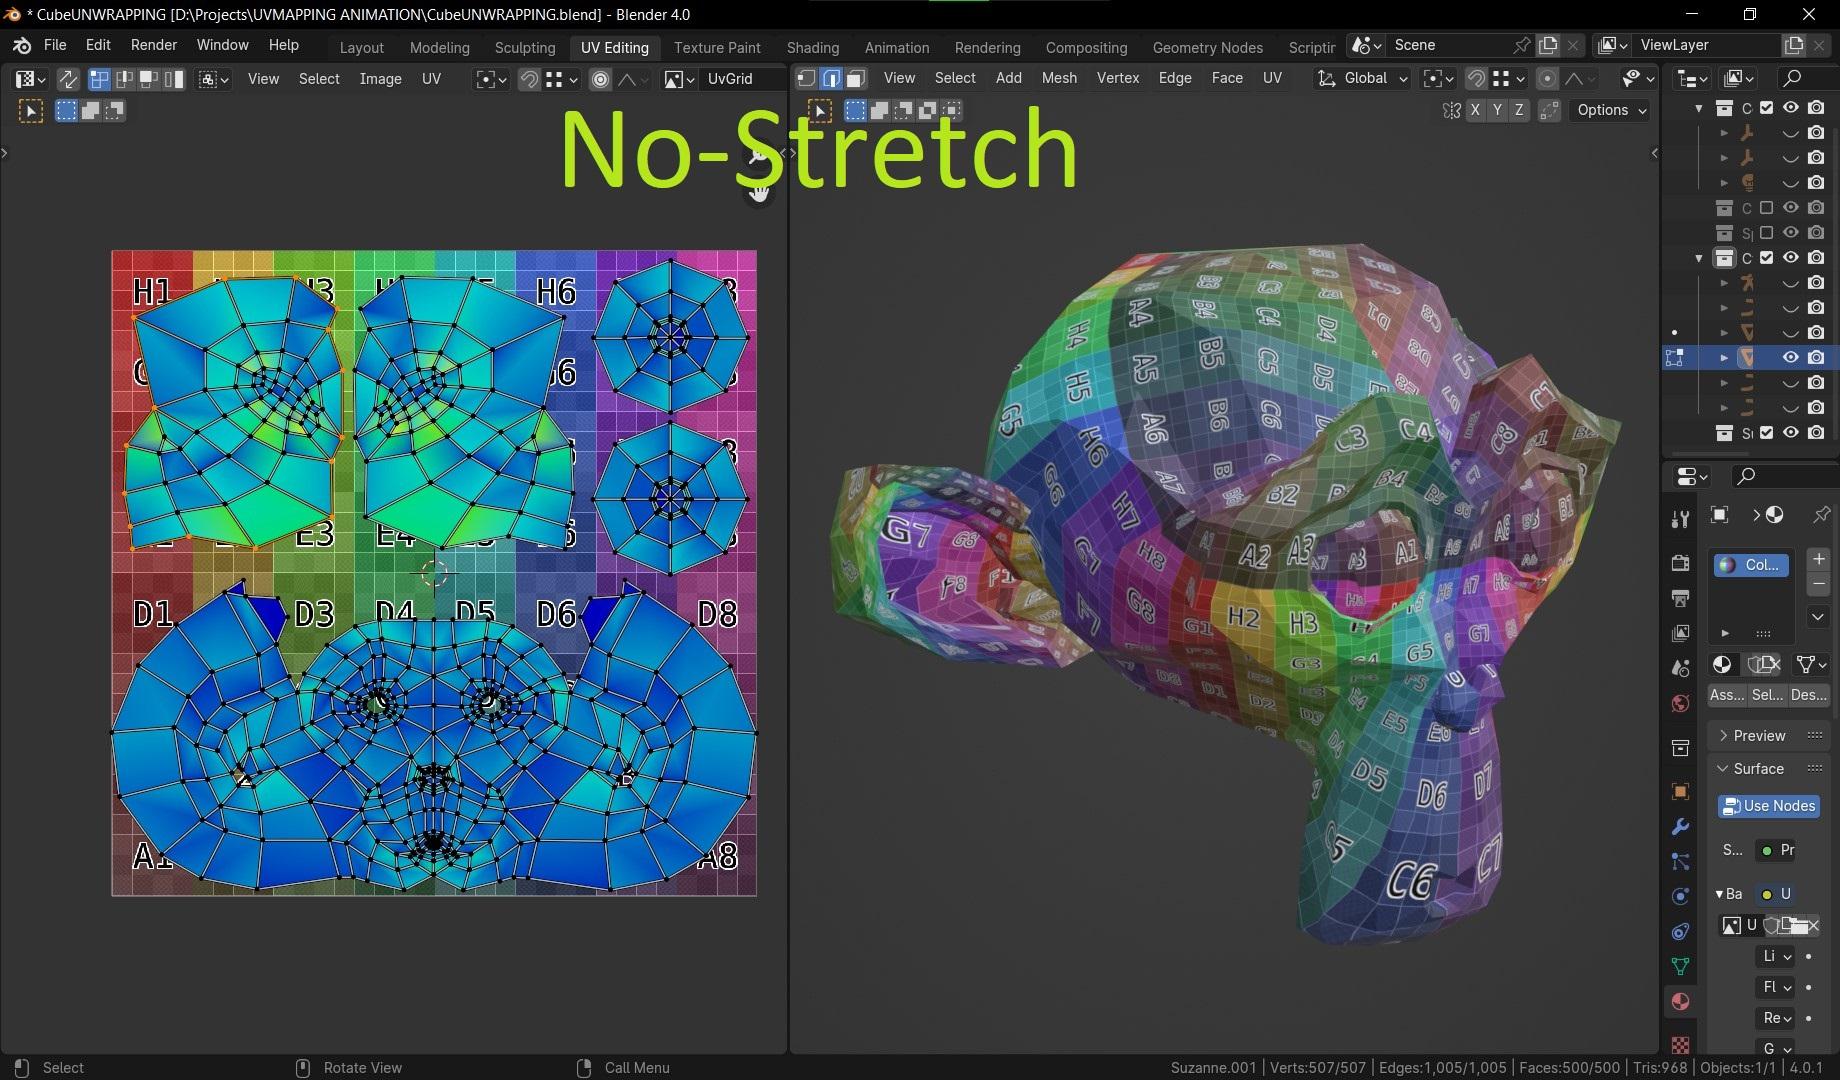
- Use UV mapping for textures — Roblox supports simple materials and image textures.
Once your character is ready, you’re just a few steps away from importing it into Roblox Studio.
Step 2: Export the Model from Blender
Roblox supports two main file formats: .FBX and .OBJ. For character models, especially rigged ones.FBX is the recommended format.


Blender Export Settings:
- Select your character in Object Mode.
- Go to File > Export > FBX (.fbx).
- In the export panel:
- Check Selected Objects.
- Under Transform, enable “Apply Transform.”, and set “Scale” to “0.1”
- Under Geometry, set “Smoothing” to “Face.”
- Under Armature, uncheck “Add Leaf Bones.”
- To include Textures: in Path Mode select “Copy”, and Click on the “Embed Textures” button.
- Click Export FBX.
Your file is now ready to import into Roblox Studio.
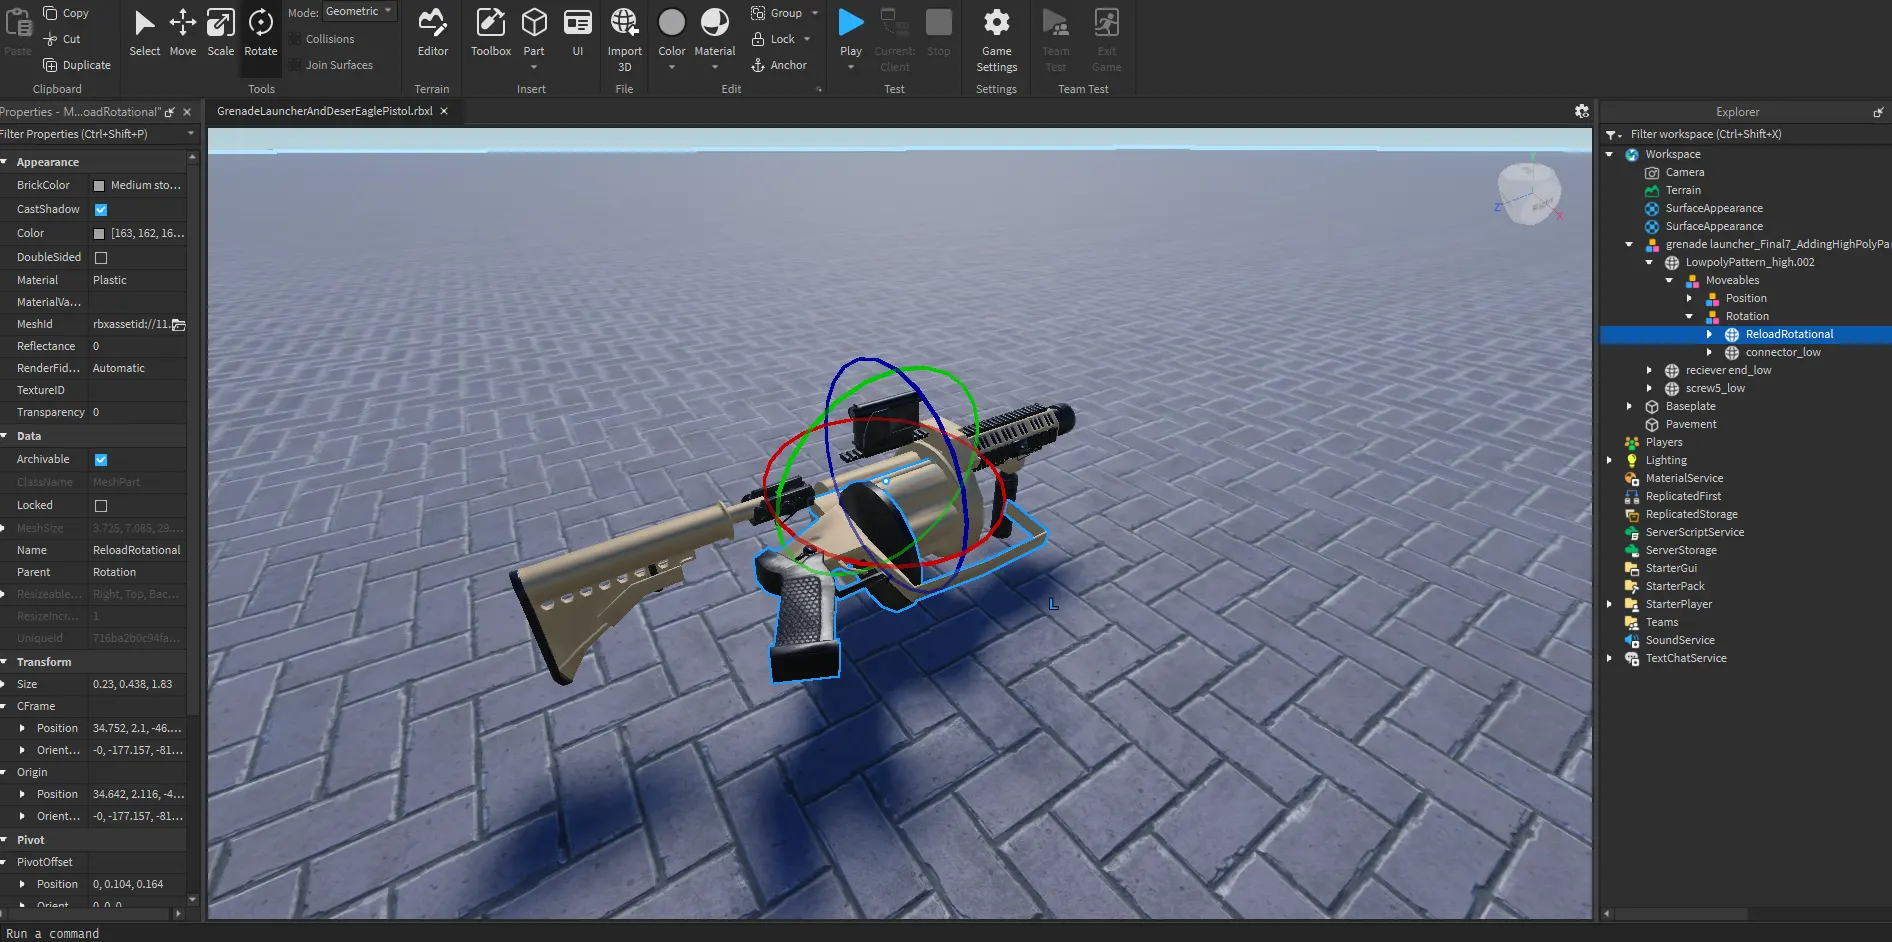
Step 3: Import the Model into Roblox Studio

- Open Roblox Studio and start a new baseplate project.
- Click Avatar panel and Click Import 3D.
- Select your exported.FBX file.
- Your model will appear in the scene and be listed in the Explorer panel.
Add Textures (In case it has a problem):

- At first, the easiest way is to follow the export settings with textures, only follow this if it didn’t work for some reason.

- Open Roblox Website > Create > Creations > Development Items > Decals.
- Click Upload Asset, then copy its ID, which is a bunch of numbers on the URL example (/dashboard/creations/store/88505090123117/configure). In this case, 88505090123117 is the texture ID
- Select the MeshPart in the Explorer.
- In the Properties panel, paste the Texture ID under TextureID.

- If you have more maps like metalness, roughness, normals, add surface appearance and add all the maps like the first texture by uploading each and paste it in the surface appearance taps.
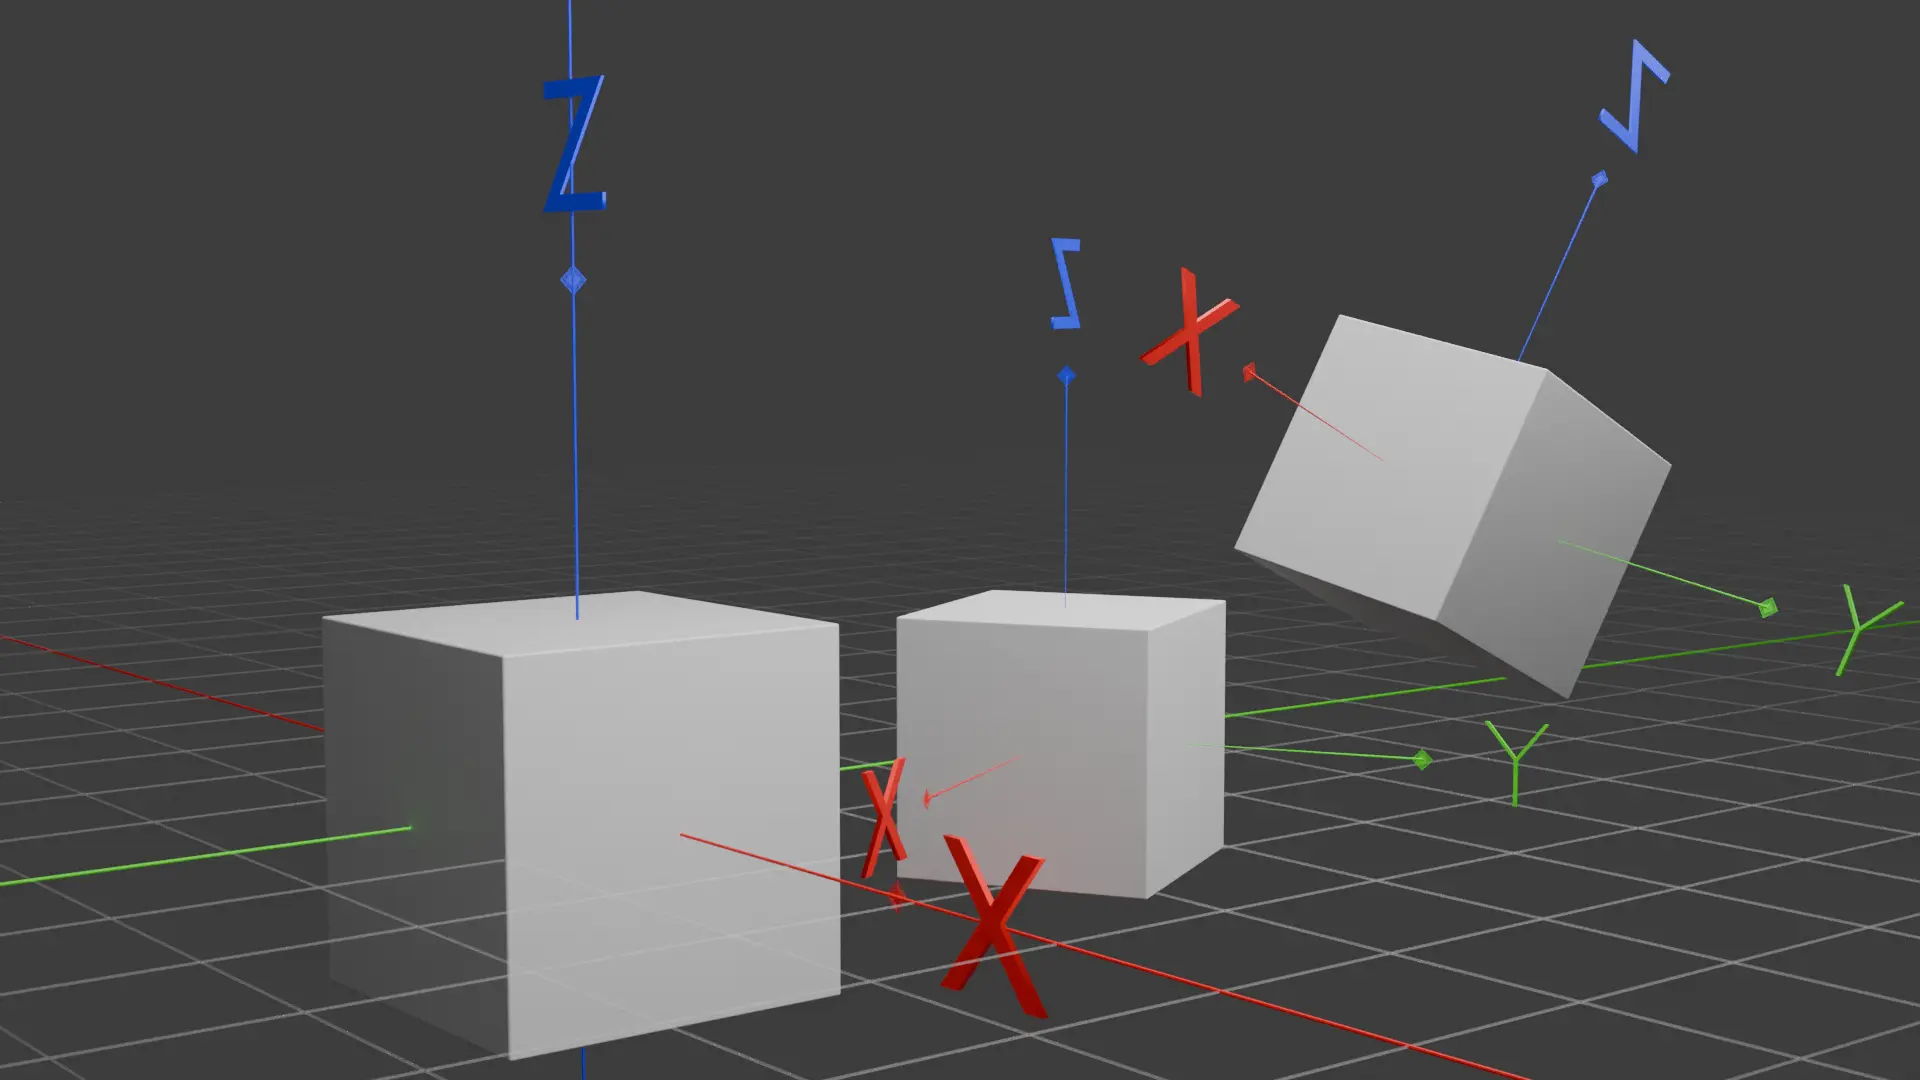
Read More: 3D Navigation: Understanding Global, Local, and View Axes
Step 4: Rig the Character for Animation (Optional)
If your model is a static object, you’re done. But if you want it to move, animate, or act like a player, you’ll need to rig it.
Option A: Manual Rigging
- Insert a Humanoid object into the model via the Explorer.
- Use Motor6D joints to connect body parts (e.g., Head to Torso, Arm to Torso).
- Ensure each part is correctly named and positioned.

Option B: Use Rig Builder
- Go to Plugins > Rig Builder.
- Select R15 or R6.
- Replace default parts with your imported mesh parts while maintaining the rig structure.
This process allows your custom Blender character to behave like any Roblox avatar.
Step 5: Animate and Test the Character

Once rigged:
- Use Animation Editor or Moon Animator to create custom animations.
- Apply walk, jump, idle, or attack cycles to your character.
- Enter Play Mode (F5) to test how the character looks and moves in-game.
Make sure the model doesn’t fall apart or lag — if so, check for missing welds, incorrect scale, or unanchored parts.
Common Issues and Fixes
|
Problem |
Cause | Fix |
|
Model doesn’t import correctly |
Improper export settings | Double-check Blender export options |
| Textures missing | Texture files not uploaded | Upload and apply textures manually |
| Model falls apart | Missing joints or anchors | Use Motor6D and weld constraints |
| Animations don’t play | No Humanoid or rig | Add a Humanoid and connect parts correctly |
Final Thoughts
Importing a Roblox character model from Blender to Roblox Studio opens the door to fully custom gameplay experiences. Whether you’re creating heroes, monsters, or stylized NPCs, designing in Blender and importing into Roblox gives you the flexibility to express your unique game vision.
While the process involves a few steps, it becomes easier with practice. And by using a reliable Roblox 3D model maker or your own Blender skills, you can populate your Roblox world with truly original characters.
Ready to Level Up Your Game Assets?
Want professional-quality Roblox models or help building your dream character?
Visit Gameaning Studios — your go-to source for 3D models, game assets, and expert Roblox development.
FAQ
Q: Can I animate my Blender model in Roblox Studio?
Yes! Once you rig it using Motor6D joints and add a Humanoid object, you can use Roblox’s animation tools.
Q: What’s better for Roblox — FBX or OBJ?
FBX is better, especially for rigged and animated characters. OBJ files don’t support animation or rig data.
Q: Can I use this method for non-humanoid models?
Yes, but you’ll skip the rigging step. Static models like animals or props can still be imported and used.